


Busy, busy, busy! The other day my daughter wanted to "help" me with one of my projects. I love when my kids help me. We were in the garage spray painting some wood. I gave her a job of spray painting some tiny clothespins. I ran inside to grab something, came back and squatted down to finish spray painting. What I didn't know is my daughter had set her can of dark brown spray paint right under me (on accident). I sat on the thing just enough for it to spray paint all over my rear. Only me!
I'm sure after that story you are inspired to go spray paint something. Let's make some 2x4 stocking hanger/holders!

Grab a 2x4. I cut mine in 7 inch pieces. Sand those pieces.

Grab a hook of some sort. Mine is from Home Depot. It cost me a whole .38 cents. There are nicer screw in hooks (and more expensive) but this cheap one gets the job done. The only thing I suggest is not getting one this long. A shorter one will do the job. I drilled the hole for the screw.

Use some pliers to twist the screw in. I couldn't find my pliers so I used this thingamajig.

At this point your project should look something like this....
=-
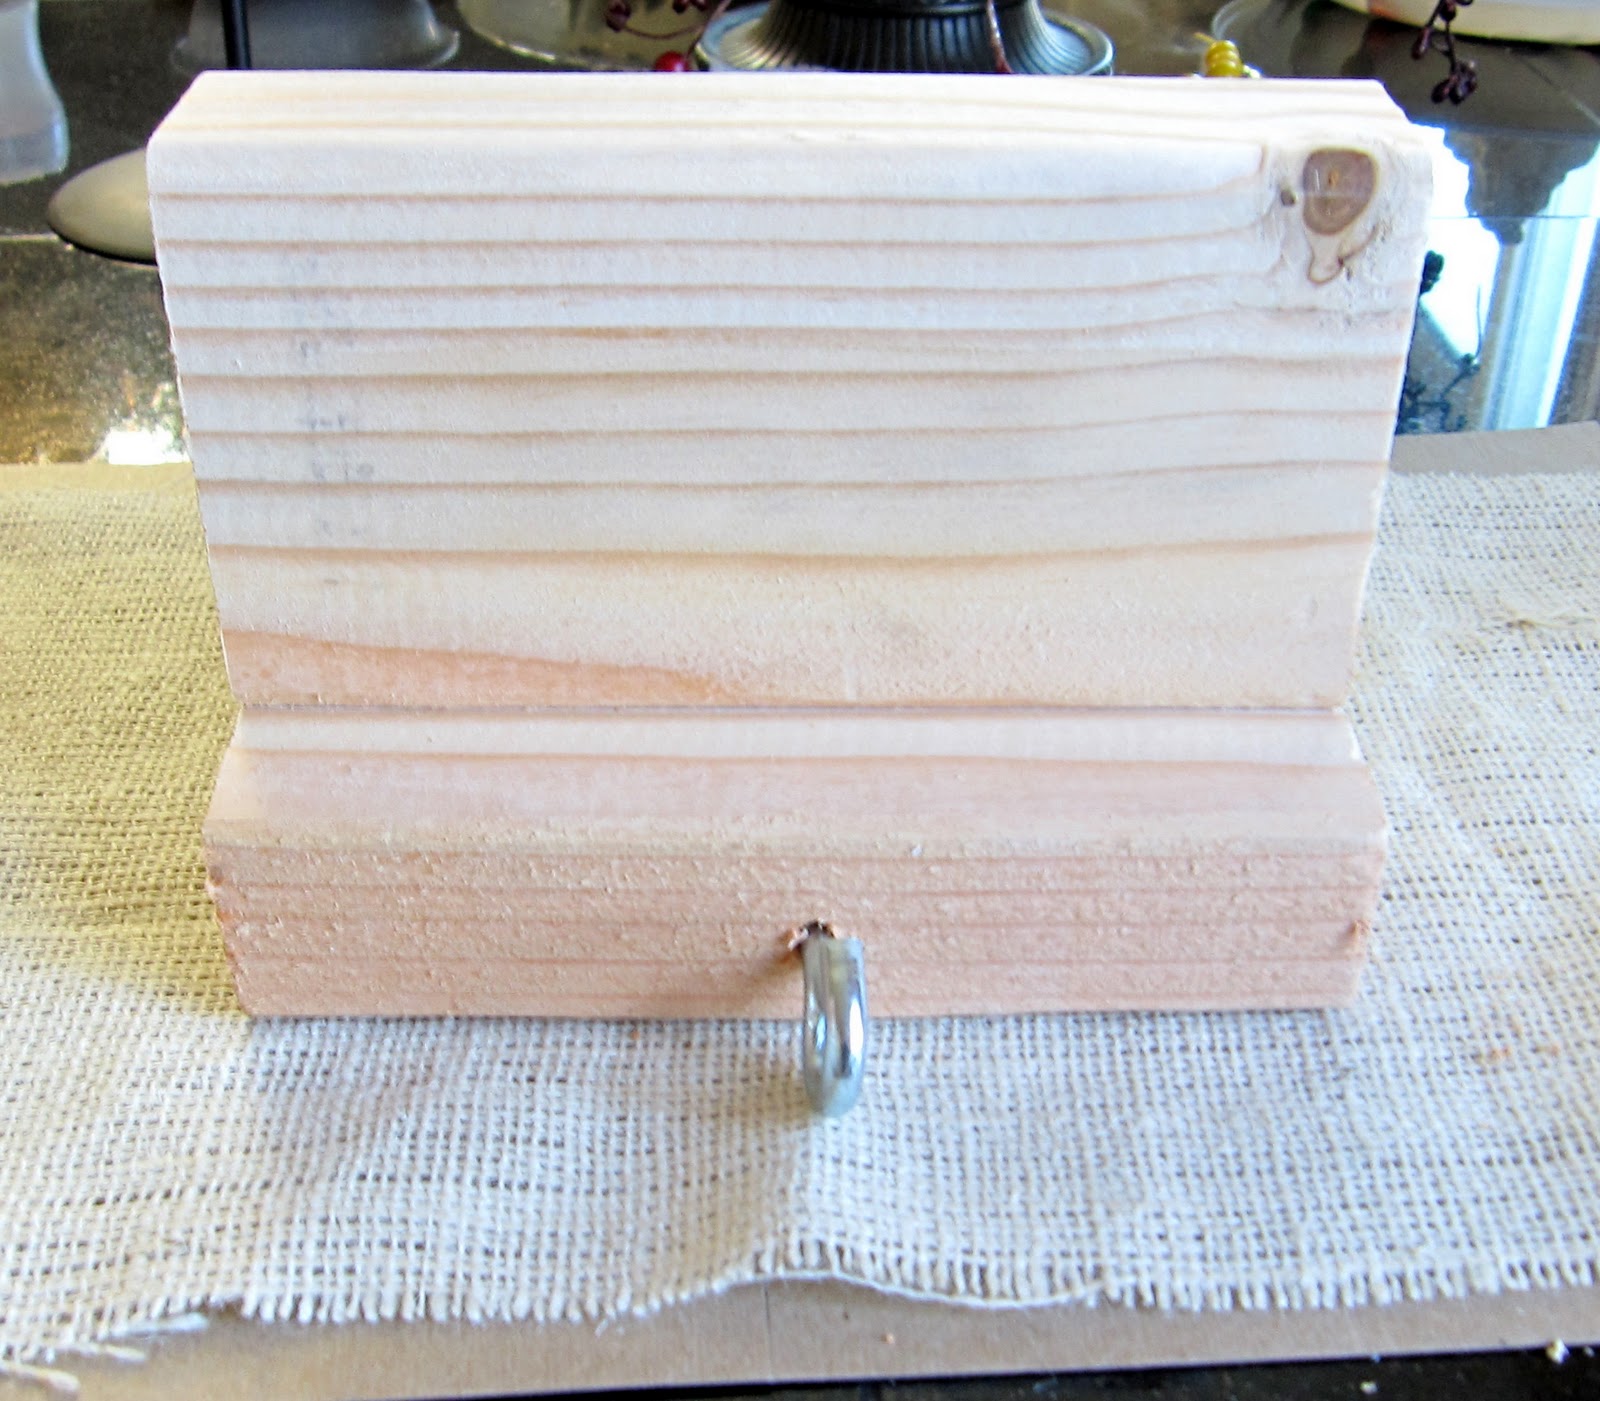
Add on one of these small craft finials from Lowes. They just screw in the top of your 2x4.


I took my project into the garage and spray painted it. While I was waiting I ironed freezer paper onto burlap and printed the kids names out with my printer. I'm in love with this font. It's called I'm Bored :)

Cut the burlap to fit on the face of your 2x4 piece and then use Cut Tacks Tachuelas. I think it's hilarious they are called Tachuelas because when you reach your little fingers in the package it's like a bunch of little Dracula's biting you. OK not so funny but I thought the name is appropriate. Tachuelas are great. You can push them in the wood a little and just use a hammer to complete the job.

Last but not least use Gorilla Glue to secure the two pieces together.

You're done and your kids will be super happy!


So so cute! I love how it turned out! Great job. Love your blog so much-
ReplyDeleteThanks Karen :)
ReplyDeleteThese are great! I think the beauty is in the simplicity!
ReplyDeleteDid you actually print onto the burlap??? If so, how did you do that? Love it!
ReplyDeleteAwesome. LOVE it. Found you tonight through either DIY or Someday Crafts, can't remember. Can you tell me more about the whole burlap / freezer paper thing & how that all works? I got a Cricut for Christmas, but it looks like you use something else? Maybe? Maybe I'm just lost. LOL =)
ReplyDeletePlease explain how you printed the name on the burlap/freezer paper thing. Thanks so much.
ReplyDeleteThere's a great tutorial for printing on burlap (and other fabrics) here: http://www.sewrockin.com/2011/11/28/how-to-print-on-burlap/
ReplyDelete