Showing posts with label burlap. Show all posts

Monday, February 28, 2011

To Jameson With Love Scripture Cover

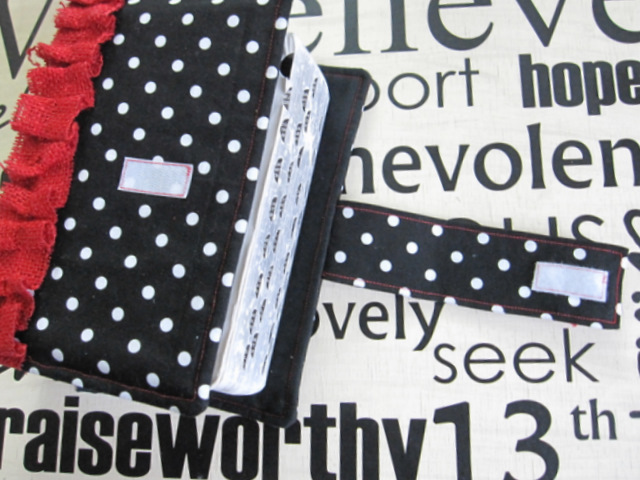
Amy over at To Jameson With Love sent me this beautiful LDS Quad Scripture cover.


Amy and I don't know each other but her making this cover for me would lead people to think otherwise.  It's sooooo me.  I love polka dots and we all know about my love affair with burlap.   When I opened the package and saw this beauty I said "SHUT UP!"  That's a good thing.  I say that when I can't believe it :)


The cover fits perfectly over the outer flaps of my scriptures.  I had to take it to church to show it off.  It turns out that girls off all ages like it.  I got comments from Relief Society aged women, Young Women and my 8 year old daughter keeps asking me if she can have it.  Not only is the cover cute but it also protects my scriptures.  That's pretty important to me.


Thanks Amy!  If you are interested in one you can check out To Jameson With Love.  Amy is great to work with and I'm sure you will be pleased with her product!


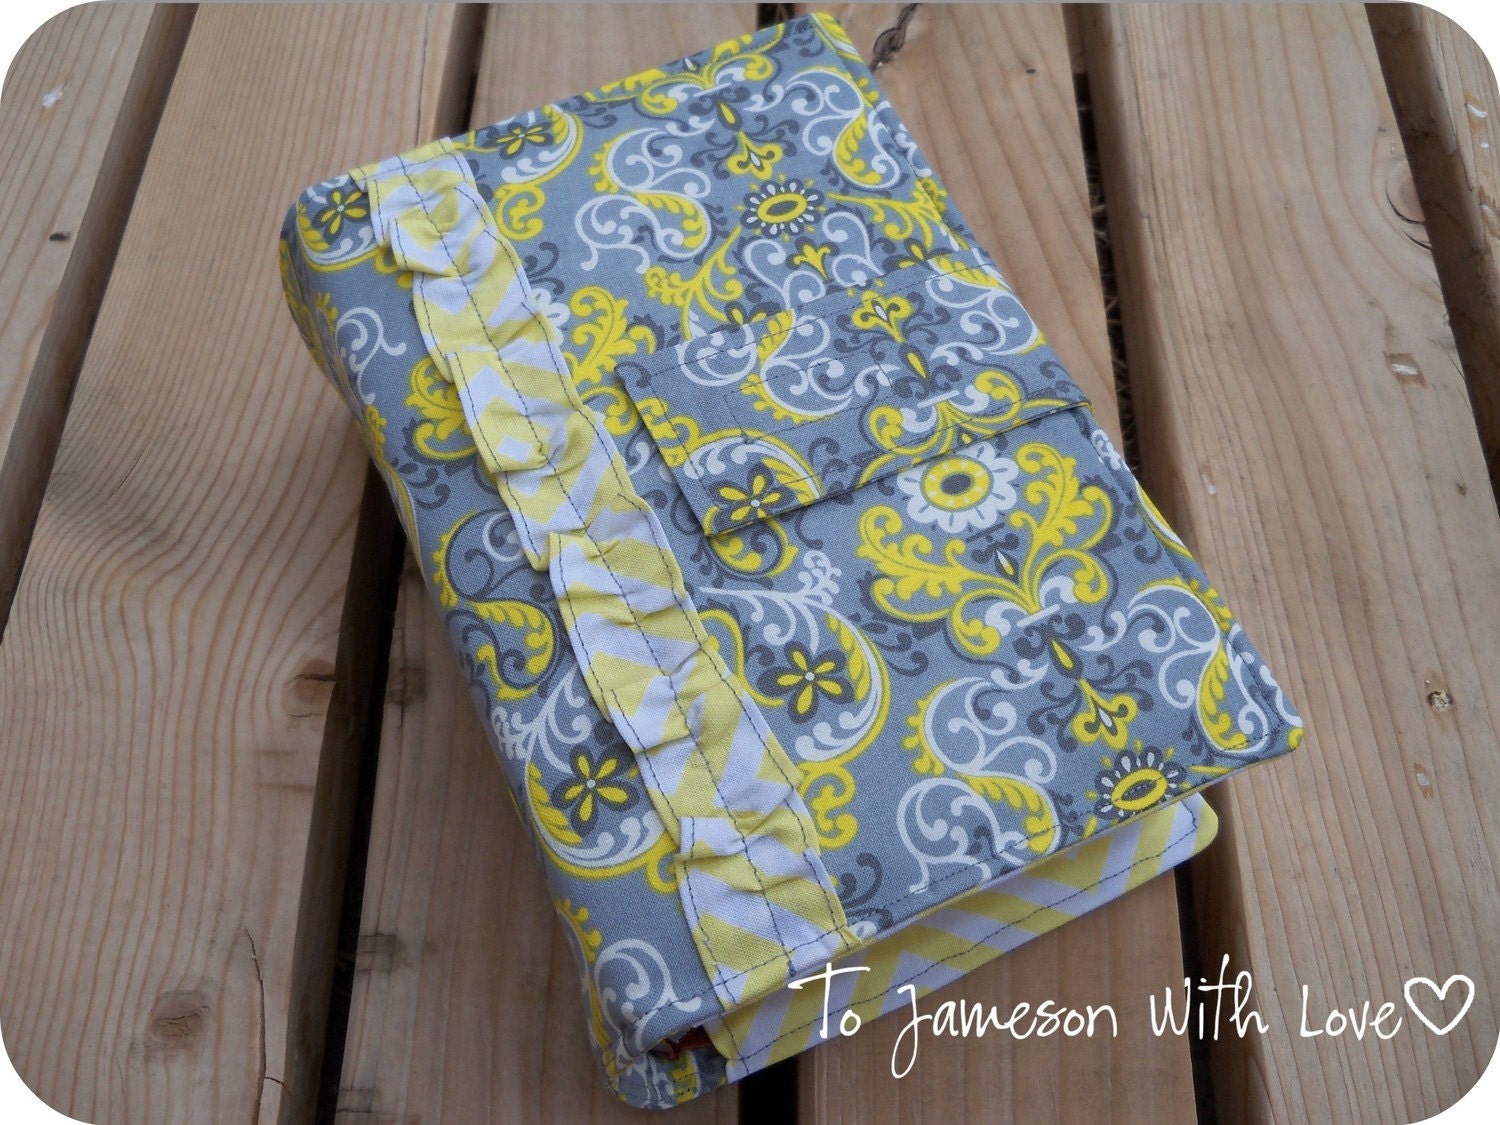
There is still a chance to win the cover pictured below.  To enter in the giveaway go HERE!  There are only a few hours left to enter.

LDS Quad Scripture Cover Yellow and Grey Floral

Tuesday, January 18, 2011

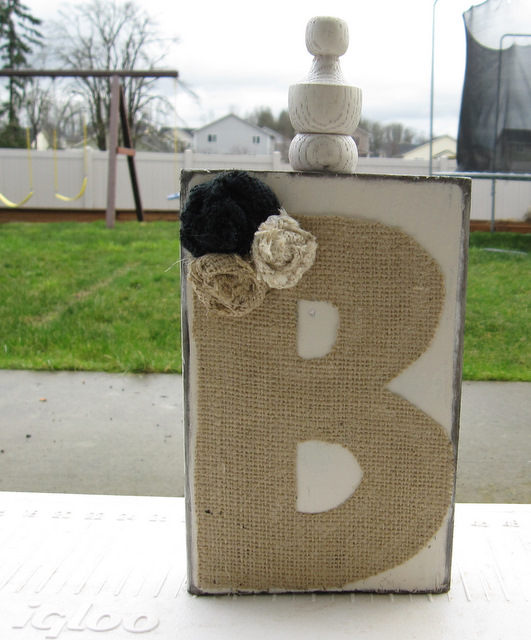
B is for Beachell :)

Quick question for everyone...Are you having trouble getting to my blog?  For about the past 4 days my blog has been on strike and won't load my site.  I'm wondering if it's just my computer or is everyone having the same problem??

Here is what I have been up to lately....


Not sure where the rosettes are going.  For right now they are just hanging out in the corner.

The final step is to frame it.  That step is still in the works.  I ran out of molding.  Darn molding.


What is everyone up to?  Feed me some crafty inspiration.  Link it up!


Wednesday, January 12, 2011

Burlap Heart Wreath

Don't forgot to enter the Burlap Wreath Giveaway!!

It looks 10x cuter on my door than in this picture.  I was going to change it because this picture made me not like the flowers but when I was outside actually looking at it I decided I like it!

Don't forget to check out what's happening in my Extraordinary Kid Series below!

Tuesday, January 11, 2011

Personalized Value Letter

My church has a great program for the young women.  I love making projects that help the YW remember what they stand for...


They help me remember what I stand for also:)  My daughter's name is Bailey.  I typed up all the info using Word Art and then printed it out on burlap.  I used this tutorial for printing on burlap.  Once you do it you are hooked.  It's just kinda amazing.  People think it's vinyl but it's not!


You will also need a piece of wood.  Mine is a 2x6 and a finial.  I found my finial at Lowes.  After you print your burlap it will look like this....


It's easier to cut and ink if you leave the freezer paper on back.


After you have completed those steps mod podge your letter onto the wood and let dry.  I spray painted my wood a cream color and inked the edges before I put the burlap on.

You're done and now you have a great gift for a YW!  If printing on burlap is scary to you (some people have emailed me and said it is) I'm selling these in my shop.

Monday, January 10, 2011

Burlap Wreath Tutorial & Giveaway

It's Monday and it's not my favorite day of the week.  Let's think positive and start this week out happy by having a giveaway!  This week's giveaway is going to be this burlap wreath...


The giveaway will be simple.  There are three different ways to enter (1) Leave a comment.  I love comments they make me happy.  Feel free to leave your blog link so I can come check out what your creating! (2) Become an Awesome Person (follower).  If you are already an awesome person (which I'm sure you are) it's a freebie entry!  (3)  Blog, tweet or facebook about this post.


Good luck and leave a comment for each time you enter.  The winner will be announced Monday morning January 12, 2011.  Now some of you are saying "I never win anything".  Yeah that would be me.  My husband wins everything but I'm just not lucky.  Enter anyway because it's free!  Then if for some strange reason you don't win I'm going to show you exactly how to make this wreath below.

Burlap Wreath Tutorial

Grab yourself a wreath of some sort.  I used a 14 inch straw one because they are cheap and you won't even see what it looks like under the burlap.  Cut strips of burlap at 6 inch in your color of choice.  Put a strip of hot glue to hold the beginning strip of burlap.


Wrap your burlap around the wreath. I put a strip of hot glue every once in a while to make sure it would stay in place.


The next step is to loosely twist the burlap and start wrapping it around the wreath.


After I was done I made sure all the twists are to my liking and then put dots of glue under to hold.  I don't think it's necessary so you can skip that step in you choose.  I then put a dot of glue on the wreath and tucked in the end of the burlap.


There are a bunch of different ways to make the rosettes.  I've tried out a few.  I saw the style I have been using online somewhere but I can't find where.  If it looks familiar let me know and I'll link it to you.  Cut a strip of burlap about 3 inches wide


Fold the end in half.


Fold the end in half again.


Roll the end a few times until it looks like this...


Twist the burlap and start wrapping it around the roll.


Put some hot glue on an extra piece of burlap.


Put the rosette on the hot glue and tuck the end in.  I always burn myself on this step.  It never fails.


Cut around your rosette...


The back will look something like this...


To make the other style burlap flowers.  Follow THIS tutorial.  (Instead of an ornament shape I traced circles on a thin piece of chipboard and cut them out.)   I made 3 flowers of each style and then hot glued them to my wreath.


Your finished!!  I don't know what it is but when you make something yourself it looks 10x better than buying it at the store.


For those who don't care to make a burlap wreath but want one I will be selling them in my etsy store.


Don't forget to enter in the giveaway.  Have a happy Monday!!!

Tuesday, January 4, 2011

Wreath

It's time for the ornament wreath to come down off my front door.  The only problem is I don't have anything to take it's place.  Yesterday I set off to make a Valentine's wreath and ended up with something else.


Remember those burlap flower ornaments I made for my tree?  I put them to good use on my wreath!  Lovin' the different style of flowers together.


I also made a few burlap hearts for this wreath.  They didn't make the cut for this project but maybe something in the future?

Wednesday, December 29, 2010

Cute-ify It!

I sat down last night with my kids to watch Despicable Me.  Love it.  The whole family laughed a lot.  Anyway... at some point in the movie I got distracted by how boring under my TV is.  I'm the type of person who likes to be doing something while watching a movie.  My mission was to cute-ify below my TV.  This is what I came up with...

I just kinda love it.  All I did is take a hanger and straighten it.  I cut 4 to 5 inch strips of burlap. I'm in a black and khaki phase right now.  Push the black and khaki strips of burlap onto the hanger.  Twist and push the hanger through the burlap.  Repeat until you are done.


This is how I made my wreath in my header except I made the hanger round.  This would be perfect on a mantle or a piano :)


This week I also managed to paint my cupboards and table...I'm on a painting spree!  Pictures coming soon :)

******************************************

The winner of the Gorilla Glue Giveaway is......Rainy Day Farm.  Congrats!!

******************************************

Sunday, December 26, 2010

Burlap Monogram Letter


We had a great Christmas!  I hope you all had an enjoyable holiday filled with family.


I made a ton of gifts this holiday.  Is it possible to get all crafted out?  Probably but I'm not there yet!  I just made this burlap monogram block for my house...


I tried to print "Beachell" up the side on the burlap but my ink is almost gone in my printer.  It turned out a blue/purple color.  Too bad.  I think it adds a cute final touch!

Friday, December 17, 2010

Burlap Ornament

I think it's going to be a burlap Christmas here in my house.  I just can't help myself.  I love the simplicity of it.  This burlap ornament is super quick and easy but also looks BEAUTIFUL on my tree!


For my wood cutting friends...did you know Home Depot has started selling sheets of 1/8 inch MDF?  A sheet cost $2.99.   That means I can cut out with my scroll saw... oh I don't know maybe hundred plus of these 1/8 wooden ornaments (below) for about a cent.  If your not a person who cuts wood you can go down to a craft store and get 10 or so for $5.00.


To make this ornament you need some sort of base.  I cut an ornament because I was doing something else with them too.  A circle will do.  Grab a pencil and your hot glue gun.   Cut a bunch of squares of burlap.  I frayed the ends of mine because I like that look.  Most burlap naturally does it :)


Wrap the burlap around your pencil and put a dot of hot glue on it.


Start in the center and press down on the wood.


Don't forget your ornament hanger!  I used Jute and hot glued it to the wood.  This can be done at the beginning.  I almost forgot.


I put them close together in the center.   As you get closer to the edges just let the burlap fall that way.


It's just that easy.  Have a very merry burlap Christmas!


Related Posts Plugin for WordPress, Blogger...