Showing posts with label 2x4's. Show all posts

Tuesday, February 15, 2011

2x4 Shamrock

It's a 2x4 shamrock!  I have no idea why I keep coming up with this stuff.  I jumped on the 2x4 boat and never jumped back off :) 


It's easy and fun to make.  The bonus is it looks cute on my shelf.

Below is how to cut your wood.  The inside number is how long the 2x4 piece is in inches.  The outside number is the degree I cut the edges of the wood.  Lot's of luck!
P.S.  Don't forget to check out the current giveaway.  I announced the winners of last week's giveaway and I'm waiting to hear from those 5 people.  Go check out if you're a winner...well you're all winners....I mean a winner of the Charm-Cicle giveaway :)

Tuesday, December 21, 2010

Craft Funny & 2x4 Stocking Tutorial

Busy, busy, busy!  The other day my daughter wanted to "help" me with one of my projects.  I love when my kids help me.  We were in the garage spray painting some wood.   I gave her a job of spray painting some tiny clothespins.  I ran inside to grab something, came back and squatted down to finish spray painting.  What I didn't know is my daughter had set her can of dark brown spray paint right under me (on accident).  I sat on the thing just enough for it to spray paint all over my rear.  Only me!

I'm sure after that story you are inspired to go spray paint something.  Let's make some 2x4 stocking hanger/holders!


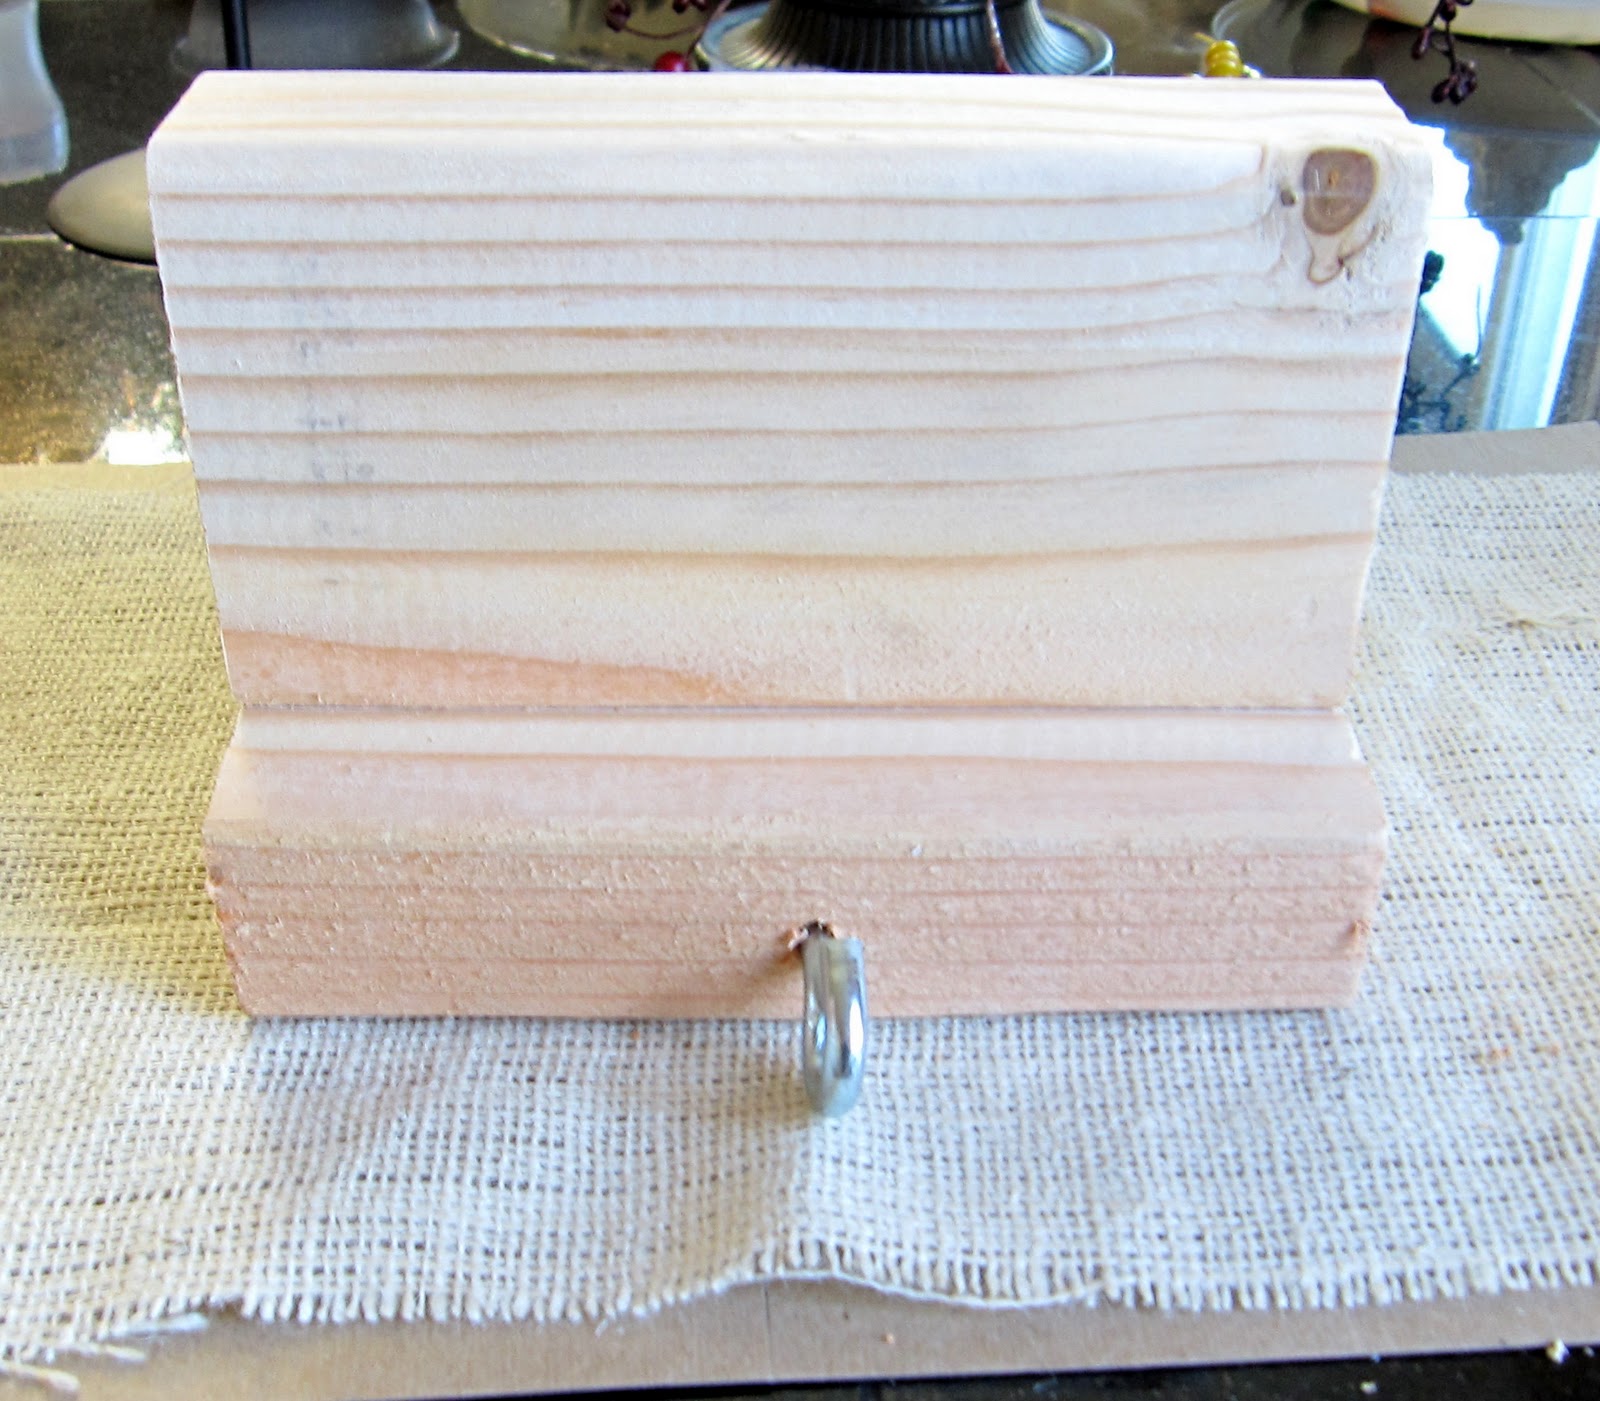
  Grab a 2x4.  I cut mine in 7 inch pieces.  Sand those pieces.


Grab a hook of some sort.  Mine is from Home Depot.  It cost me a whole .38 cents.   There are nicer screw in hooks (and more expensive) but this cheap one gets the job done.  The only thing I suggest is not getting one this long.  A shorter one will do the job.  I drilled the hole for the screw.


Use some pliers to twist the screw in.  I couldn't find my pliers so I used this thingamajig.


At this point your project should look something like this....
=-

Add on one of these small craft finials from Lowes.  They just screw in the top of your 2x4.


I took my project into the garage and spray painted it.  While I was waiting I ironed freezer paper onto burlap and printed the kids names out with my printer.  I'm in love with this font.  It's called I'm Bored :)


Cut the burlap to fit on the face of your 2x4 piece and then use Cut Tacks Tachuelas.  I think it's hilarious they are called Tachuelas because when you reach your little fingers in the package it's like a bunch of little Dracula's biting you.  OK not so funny but I thought the name is appropriate.  Tachuelas are great.  You can push them in the wood a little and just use a hammer to complete the job.


Last but not least use Gorilla Glue to secure the two pieces together. 


You're done and your kids will be super happy!


Sunday, December 19, 2010

2x4 Christmas Stocking Holder...

We now have a place to hang stocking in this house!


Tutorial later and a fun giveaway tomorrow.

Sunday, December 12, 2010

2x4 Christmas Present

My day tomorrow is crazy so pretend today's post is tomorrow's post...  I can't believe I didn't think of this one before.  Maybe because sometimes I make things way too complicated.  My hubby would agree.  With that said...a 2x4 Christmas present...


I'm currently having a love affair with the color blue.  My daughter told me I should have used more Christmas colors.  Everyone is a craft critic!


Growing up presents didn't appear under the tree until Christmas morning.  I remember walking down and our tree would be so pretty and there was always so many presents !  We now have the same tradition in my family.  2x4 Christmas presents will be a great addition to fill that space until Christmas!  They are even child proof :)  I put this little pretty down and my four year old came running up and said "A present!!!".  His excitement about this present craft is adorable.  Please excuse my undecorated tree in the below picture.  We wait until after my daughter's birthday to get a tree.  We got it on Saturday and just had a chance to put it up.  I love it.  It only cost $30.00 and for free we got that cute tree wrapped and taken to our car while we sat by a fire, kids got candy canes, hot chocolate and cookies.  That would be only one of the many reasons I love Washington.


So many possibilities...different sizes and colors.  Go make yourself some presents.  I would love to see what you are all creating with this idea!

2x4 Santa tutorial & pattern

Just in case you didn't see this Santa tutorial over at Someday Crafts.  Here is my tutorial and patterns :)

Ok!  Enough of that "me" stuff and onto the goods!  A 2x4 Santa!
Photobucket

You will need a 2x4 or a 1x3. Either will do.  I have done this two different ways.  If you want your Santa to look like the Hunchback of Notre Dame from the side then skip this next step :)  Cut your 2x4 in half lengthwise.  Like this....

Photobucket

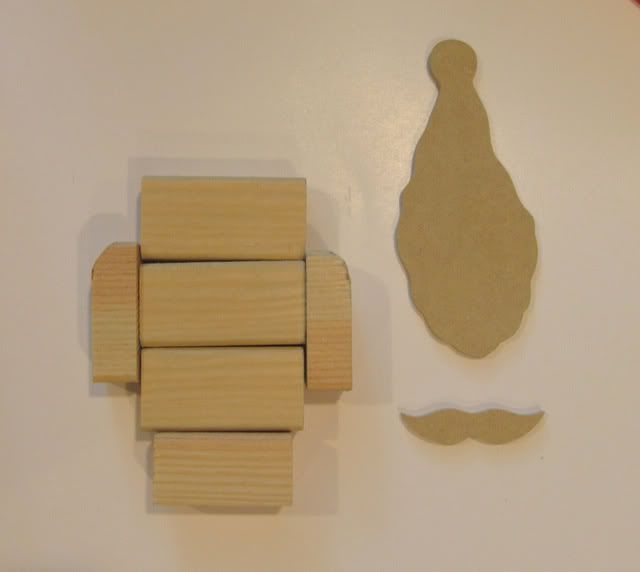
Then cut 3 pieces at 3 inches (the body), 2 pieces at 3/4 inch (arms) and 1 piece at 2 1/2 inches (shoes).  Next grab your scroll saw OR trace the following pattern on chipboard, cardboard or cereal box.


Photobucket

My material of choice is 1/4 inch MDF so I used my scroll saw.  My reindeer pattern is also traced on this piece of wood.  Hop over to my blog for the tutorial.

Photobucket


At this point you should have something like this....

Photobucket
Paint your pieces. Let them dry.

Photobucket

Sand the edges.  Sand down the middle of the shoes to give the appearance of two shoes instead of one big shoe.  A dremel works great for this step.  Glue the pieces together. I like to use gorilla glue. Strong as a gorilla :)

Photobucket

Make sure you remember to glue the mustache on Santa and .....you are done!

Photobucket

Thanks for crafting with me and have a wonderful holiday!

Friday, November 26, 2010

Reindeer tutorial & Pattern

I was working on my Santa tutorial (it will be shared on Someday Crafts on Nov 30th) and somehow I ended up with some reindeer!
Photobucket


Here's a quick "how to".  Take your 2x4 or 1x3 and make a cut down the middle...like this....
Photobucket

Then make a 3 inch piece and a 2 1/2 inch piece.  You end up with doubles...so why not make 2?!!  Grab your scroll saw and cut out these pieces.
Photobucket


Don't have a scroll saw??? Try using chipboard or cardboard.  You could even use a cereal box :)  Trace the pictures on material of choice (mine is 1/4 inch MDF) and cut them out with scissors/saw.

Photobucket
Paint the wood pieces and then if you want give them a sand around the edges. 

Photobucket

Grab your gorilla glue to glue the pieces together and your finished!
Photobucket
I have a ton of crates hanging around my house right now.  I've even built a few.  More on that soon...

Tuesday, November 23, 2010

2x4 Christmas Tree Tutorial & Givaway

About time I get to that 2x4 Christmas tree tutorial! The snow even cooperated for my picture.

Photobucket


Grab yourself a 2x4 or a 1x3 they both work. I've done this two different ways. You can make straight cuts at 6 inches, 5 inches, 4 inches, 3 inches and 2 inches OR you can cut at a 30 degree angle so it looks like this.....

Photobucket


I cut my star out with my scroll saw. Sand your wood and then paint. I did a wash on mine for this particular project. By "wash" I mean I added water to the paint.


Photobucket

Sand the edges of your wood.

Photobucket

Find some cute paper. Cut paper in strips slightly larger than an inch. Mod podge paper on.

Photobucket

Get some handy dandy Gorilla glue and glue the whole thing together.

Photobucket

You're done! I would love to see some of the trees you are creating :)

Photobucket

Photobucket


***It's another GET YOU CREATING giveaway. I have two of these tree kits. One regular kit and one 30 degree angle cut kit. The rules are (1) become a follower or as I call you an AWESOME PERSON and (2) leave a comment. It's easy as A, B, C...right? I will announce the winner on Monday, November 29, 2010***

Thursday, November 11, 2010

2x4 Santa

This 2x4 Santa lives in Washington State. He wants to know what's up with all the rain :)

Friday, November 5, 2010

2x4 Turkey!!!

Hey there everyone! It's me, Wendy. You know the one that left Melinda and moved to Texas-VERY unhappily I might add! Just popping in to steal a post {and defend myself! :)}

Did any of you happen to notice Melinda missed a Holiday? From pumpkins to snowmen??? I think she was subconsciously waiting for me to do something about it. {She's really busy lately}. So here you go...one 2x4 Turkey.


He's fast and easy to make-the way all turkeys should be. Jump on over to my blog for the details and look for a tutorial a bit later.

While you're there be sure to check out my 30 days of Christmas Ornaments giveaway and ornament exchange. The more the merrier...

Happy Crafting!

Wednesday, November 3, 2010

2x4 Snowman

Have I mentioned that crafty neighbor girl moved to Texas? Yep. She up and left me. I miss her everyday. What does this have to do with a snowman. You're about to find out. Here is my 2x4 snowman....


Love everything about him except his face. If crafty neighbor girl was still my neighbor I would walk down to her house. It would be late at night but she would be up working on something. I would then tell her my snowman has a ugly face. She would laugh and instantly come up with an adorable snowman face. I miss and love crafty neighbor girl :)

Want to make your own snowman? (I really keep wanting to call him a pumpkin. LOL!) It's easy. You will need:

*A 2x4. Cut pieces as follows: (1) 5 inch piece, (1) 4 inch piece and (2) 3 inch pieces.
*3/4 thick MDF. I used some scraps I had for the hat
*Ribbon for the scarf
*Mod Podge scrapbook paper on the hat.
*permanent marker for the face and scrapbook paper for the carrot nose
*glue it all together with Gorilla Glue.

The best thing about 2x4 projects is they are so easy. Have a wonderful crafty day!

Sunday, October 3, 2010

Sneak Peek

Here are some project sneak peeks for this week. A fun yarn wreath. I'm crazy for wreaths! I'm still trying to figure out where this one is going


The 2x4 tree still has not been perfected. I'm searching for that perfect paper. I will share the tutorial on my blog this week.

Friday, October 1, 2010

{LOVE}

I'm a mood crafter. I think I'm also getting good at making up crafty terms:) Just in case you don't know what a mood crafter is...it's someone who crafts to their particular mood at that moment.

Today I've been grouchy. When I was little I was taught when you are grouchy and having grouchy thoughts to sing an uplifting song. My song has changed throughout the years. When I started with my grouchy thoughts today I thought for sure my song would be "Count Your Blessings" It wasn't. It was this....


"There's nothing you can do that can't be done.
Nothing you can sing that can't be sung.
Nothing you can say but you can learn
how to play the game
It's easy.
There's nothing you can make that can't be made.
No one you can save that can't be saved.
Nothing you can do but you can learn how to be you in time -
It's easy.
All you need is love, all you need is love,
All you need is love, love, love is all you need."

As I sang my little heart out I created this....


All you need is love. Thanks little heart craft for making my heart feel happy.


Sunday, September 19, 2010

Perfectionist in Recovery

I'm a perfectionist in recovery. Yep it's true. Way back when (well... and occasionally I relapse) If I couldn't do something perfect I wouldn't do it. It applied to many different areas of my life including crafting. If I made something I thought was to be hideous I would throw it away and quit. I've now learned creating is a process. Sometimes you get it right the first time and other times you just need to change a few things to make it *perfect*! The funny thing is this post isn't where I made something perfect :) I think it's like craft therapy posting my junk. I like my little tree but it needs a little more....


So I added a little paper and....it looks like a disaster!

I'm going to try sticking with the darker paper, make the star smaller and change the yellow color and then we just might have something worth posting. I would love to see the pumpkins and trees you are all creating :)
Related Posts Plugin for WordPress, Blogger...