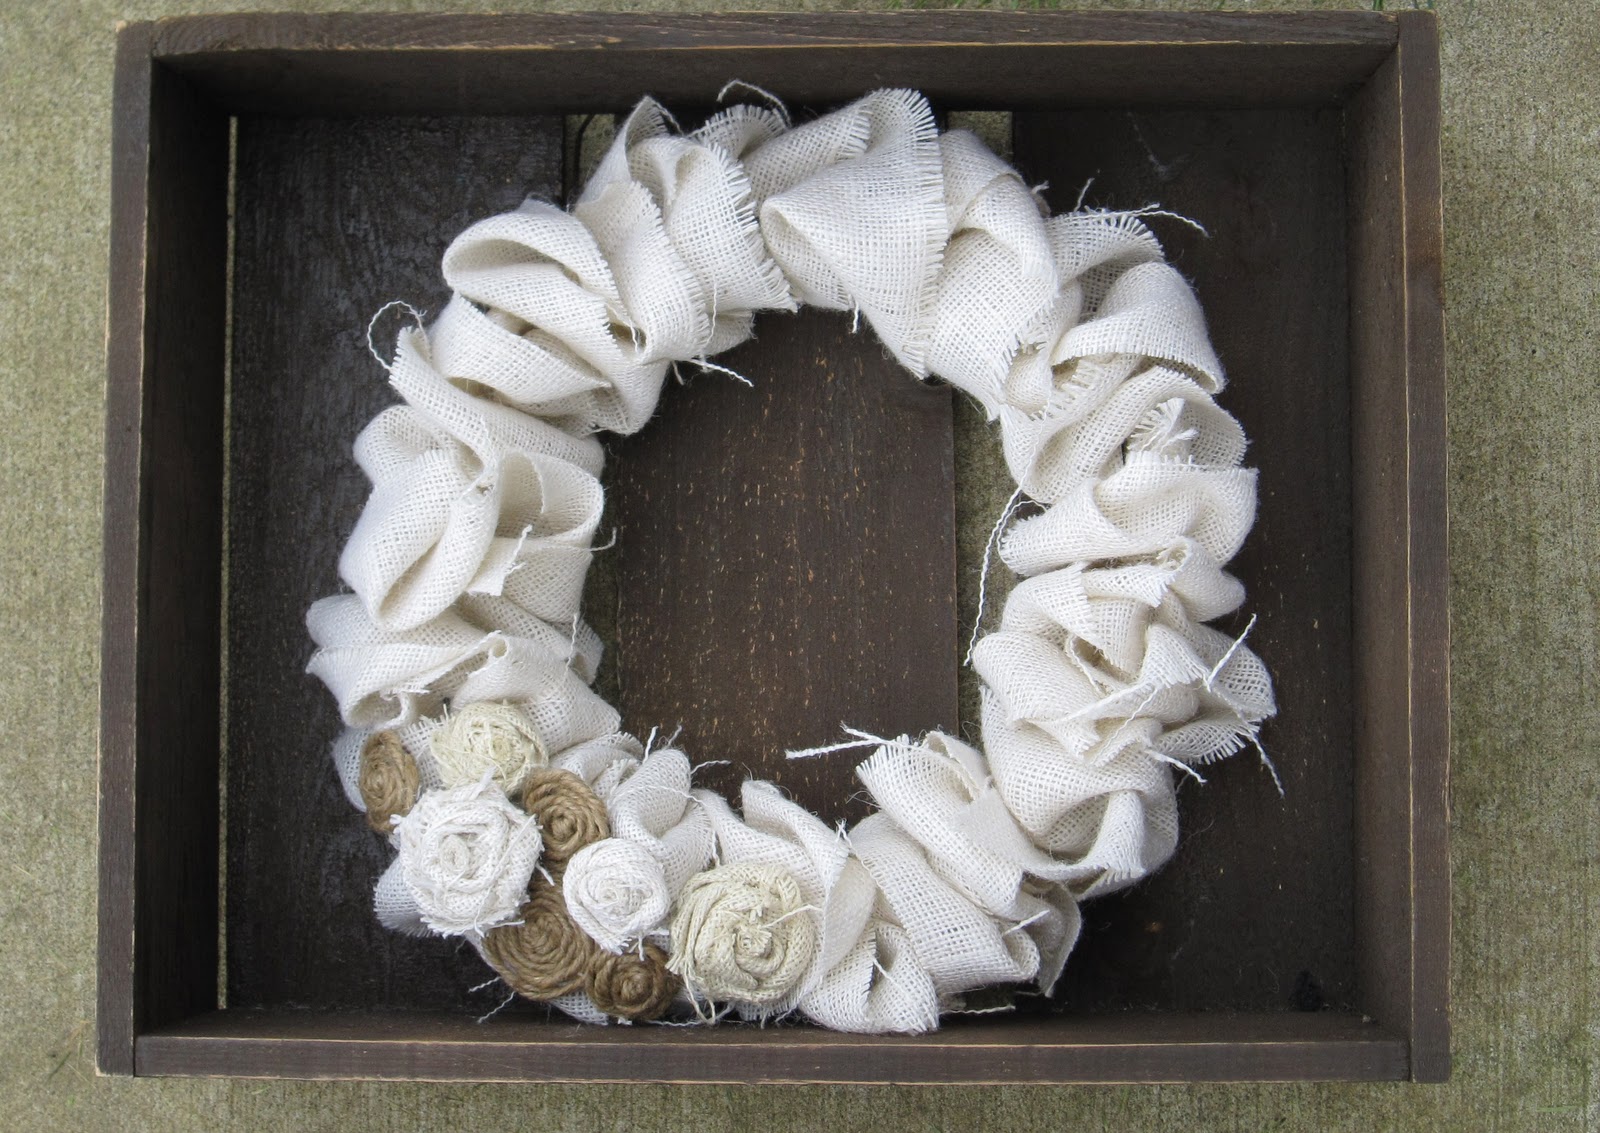
It's Monday and it's not my favorite day of the week. Let's think positive and start this week out happy by having a giveaway! This week's giveaway is going to be this burlap wreath...
The giveaway will be simple. There are three different ways to enter (1) Leave a comment. I love comments they make me happy. Feel free to leave your blog link so I can come check out what your creating! (2) Become an Awesome Person (follower). If you are already an awesome person (which I'm sure you are) it's a freebie entry! (3) Blog, tweet or facebook about this post.

Good luck and leave a comment for each time you enter. The winner will be announced Monday morning January 12, 2011. Now some of you are saying "I never win anything". Yeah that would be me. My husband wins everything but I'm just not lucky. Enter anyway because it's free! Then if for some strange reason you don't win I'm going to show you exactly how to make this wreath below.
Burlap Wreath Tutorial
Grab yourself a wreath of some sort. I used a 14 inch straw one because they are cheap and you won't even see what it looks like under the burlap. Cut strips of burlap at 6 inch in your color of choice. Put a strip of hot glue to hold the beginning strip of burlap.
Wrap your burlap around the wreath. I put a strip of hot glue every once in a while to make sure it would stay in place.
The next step is to loosely twist the burlap and start wrapping it around the wreath.
After I was done I made sure all the twists are to my liking and then put dots of glue under to hold. I don't think it's necessary so you can skip that step in you choose. I then put a dot of glue on the wreath and tucked in the end of the burlap.
There are a bunch of different ways to make the rosettes. I've tried out a few. I saw the style I have been using online somewhere but I can't find where. If it looks familiar let me know and I'll link it to you. Cut a strip of burlap about 3 inches wide
Fold the end in half.
Fold the end in half again.
Roll the end a few times until it looks like this...
Twist the burlap and start wrapping it around the roll.
Put some hot glue on an extra piece of burlap.
Put the rosette on the hot glue and tuck the end in. I always burn myself on this step. It never fails.
Cut around your rosette...
The back will look something like this...
To make the other style burlap flowers. Follow
THIS tutorial. (Instead of an ornament shape I traced circles on a thin piece of chipboard and cut them out.) I made 3 flowers of each style and then hot glued them to my wreath.
Your finished!! I don't know what it is but when you make something yourself it looks 10x better than buying it at the store.
For those who don't care to make a burlap wreath but want one I will be selling them in my
etsy store.
Don't forget to enter in the giveaway. Have a happy Monday!!!